

How to get started with our keywording tool
Uploading Your Files
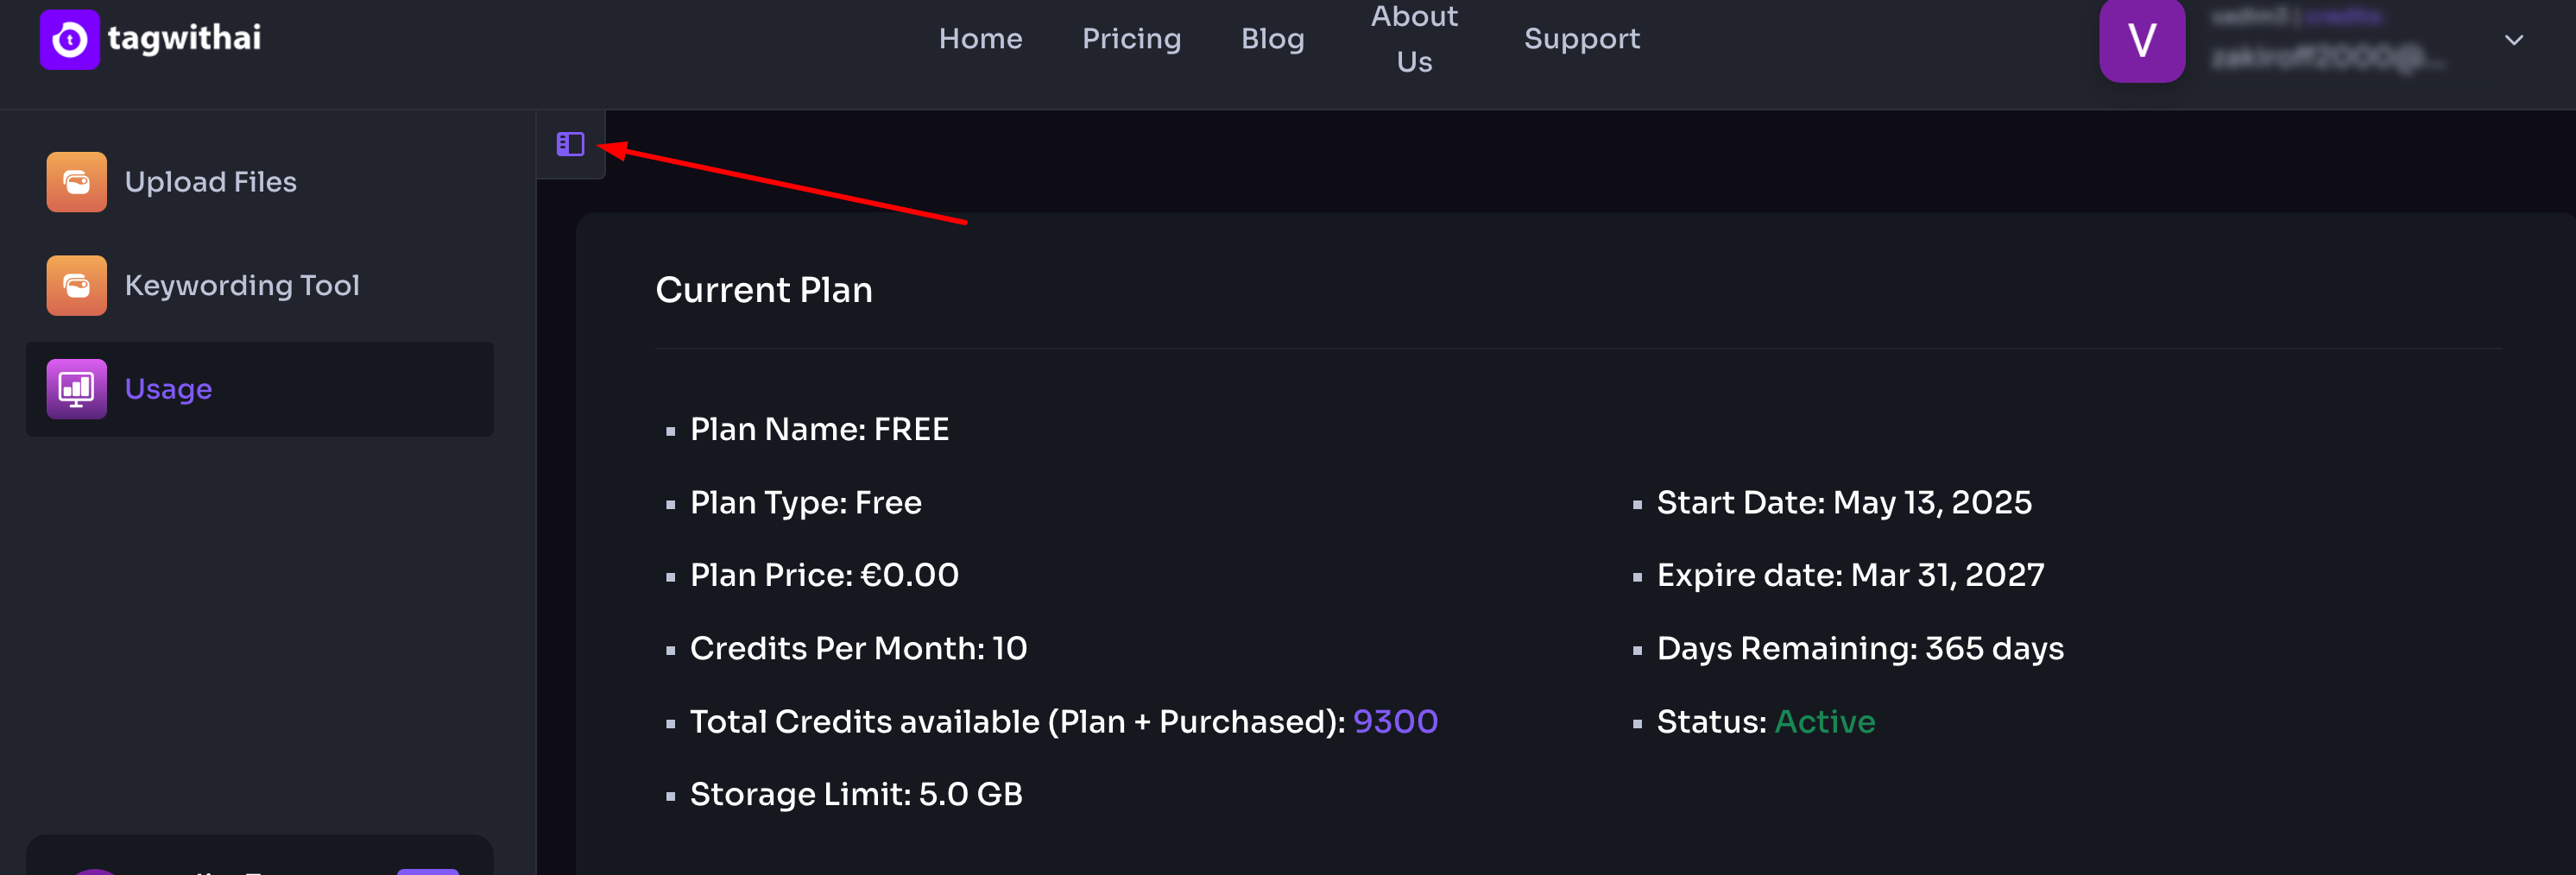
Once you've registered, you'll land on the TagWithAI dashboard. The left-hand panel can be collapsed or expanded — use the toggle icon to switch between views:
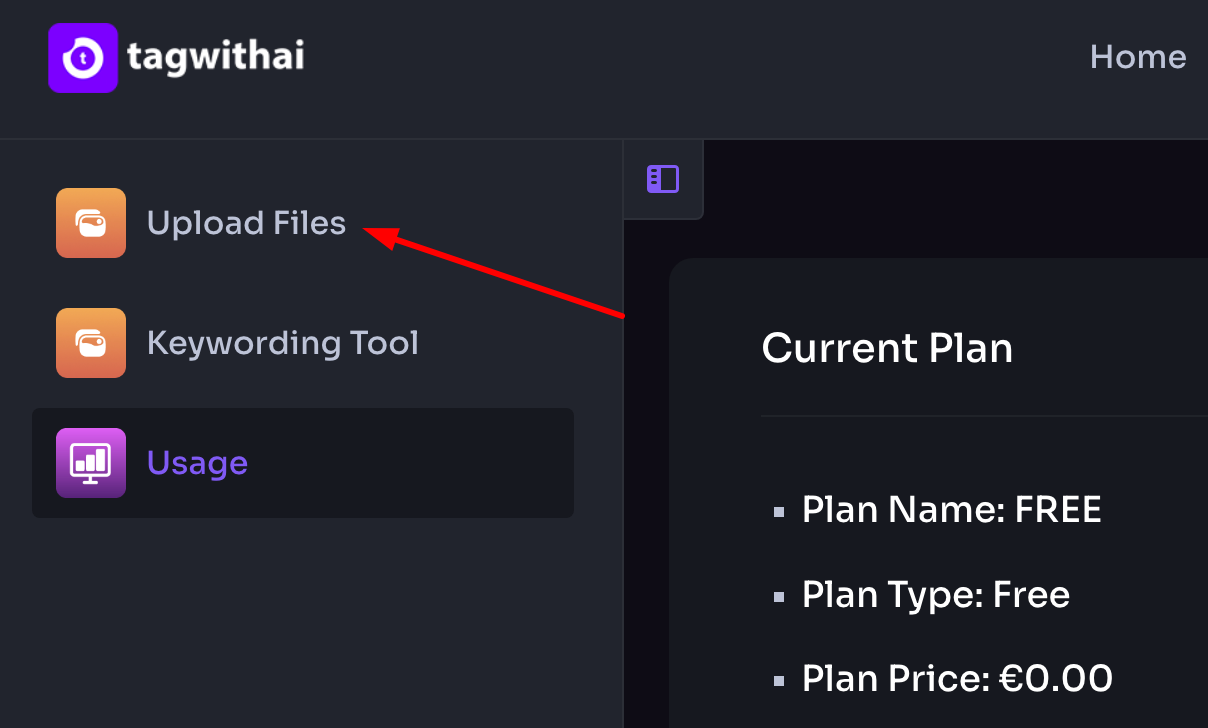
To upload your images or video, click Upload Files in the navigation panel:
You'll be taken to the upload page, where you can add files in two ways:
- Option 1: Click inside the purple upload area to open your device's file browser and select your files
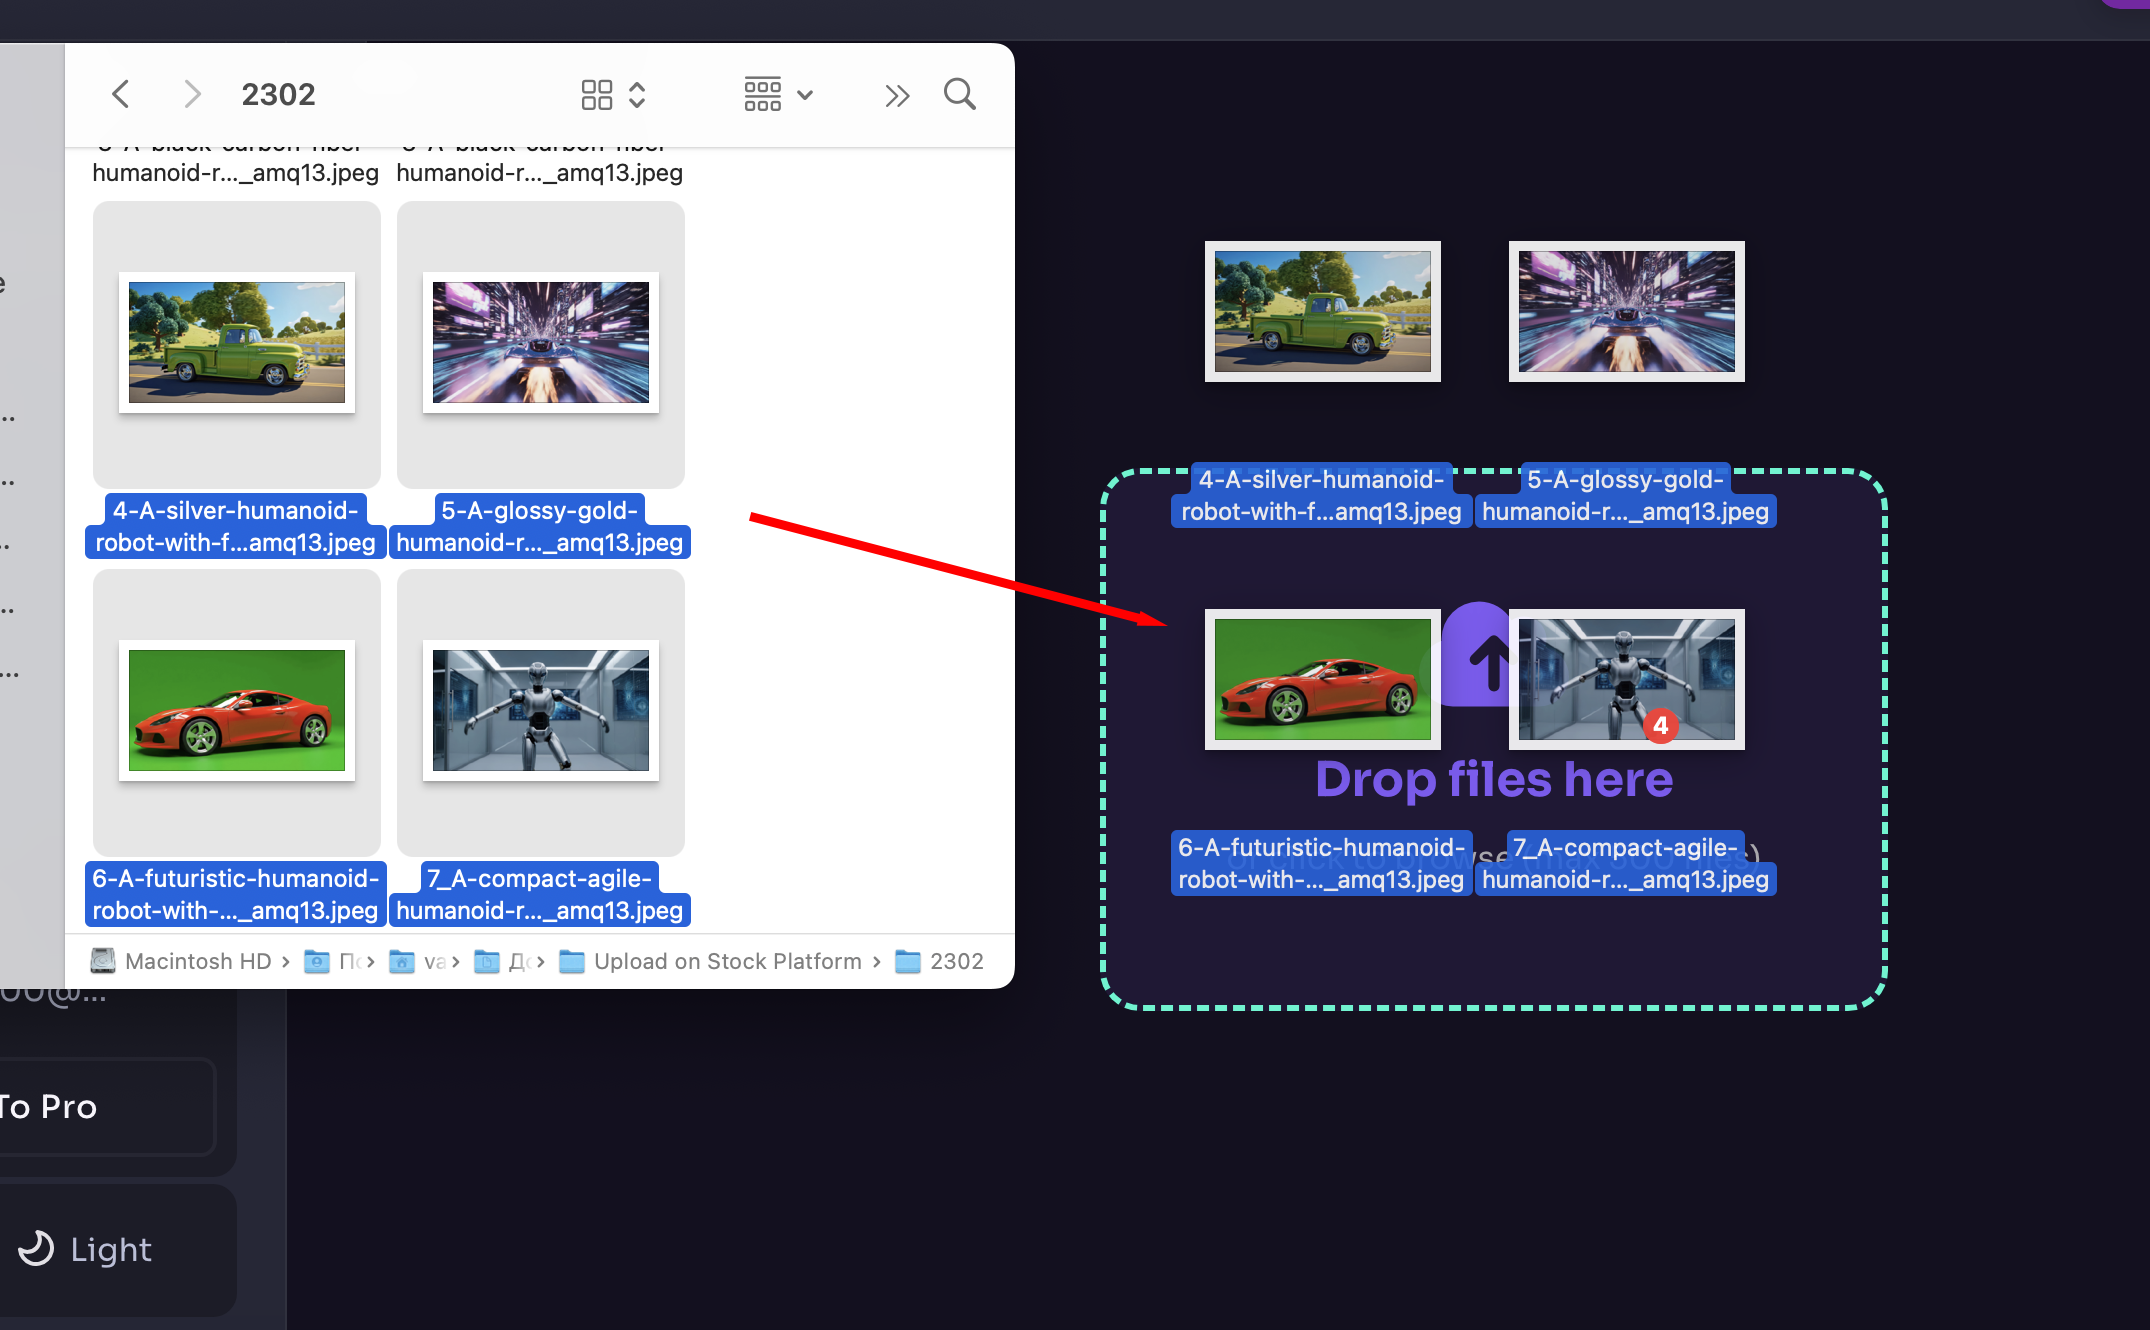
- Option 2: Drag and drop files directly into the upload area:
Supported file formats: JPEG, PNG, SVG, MOV, MP4
Maximum file size: 3 GB per file
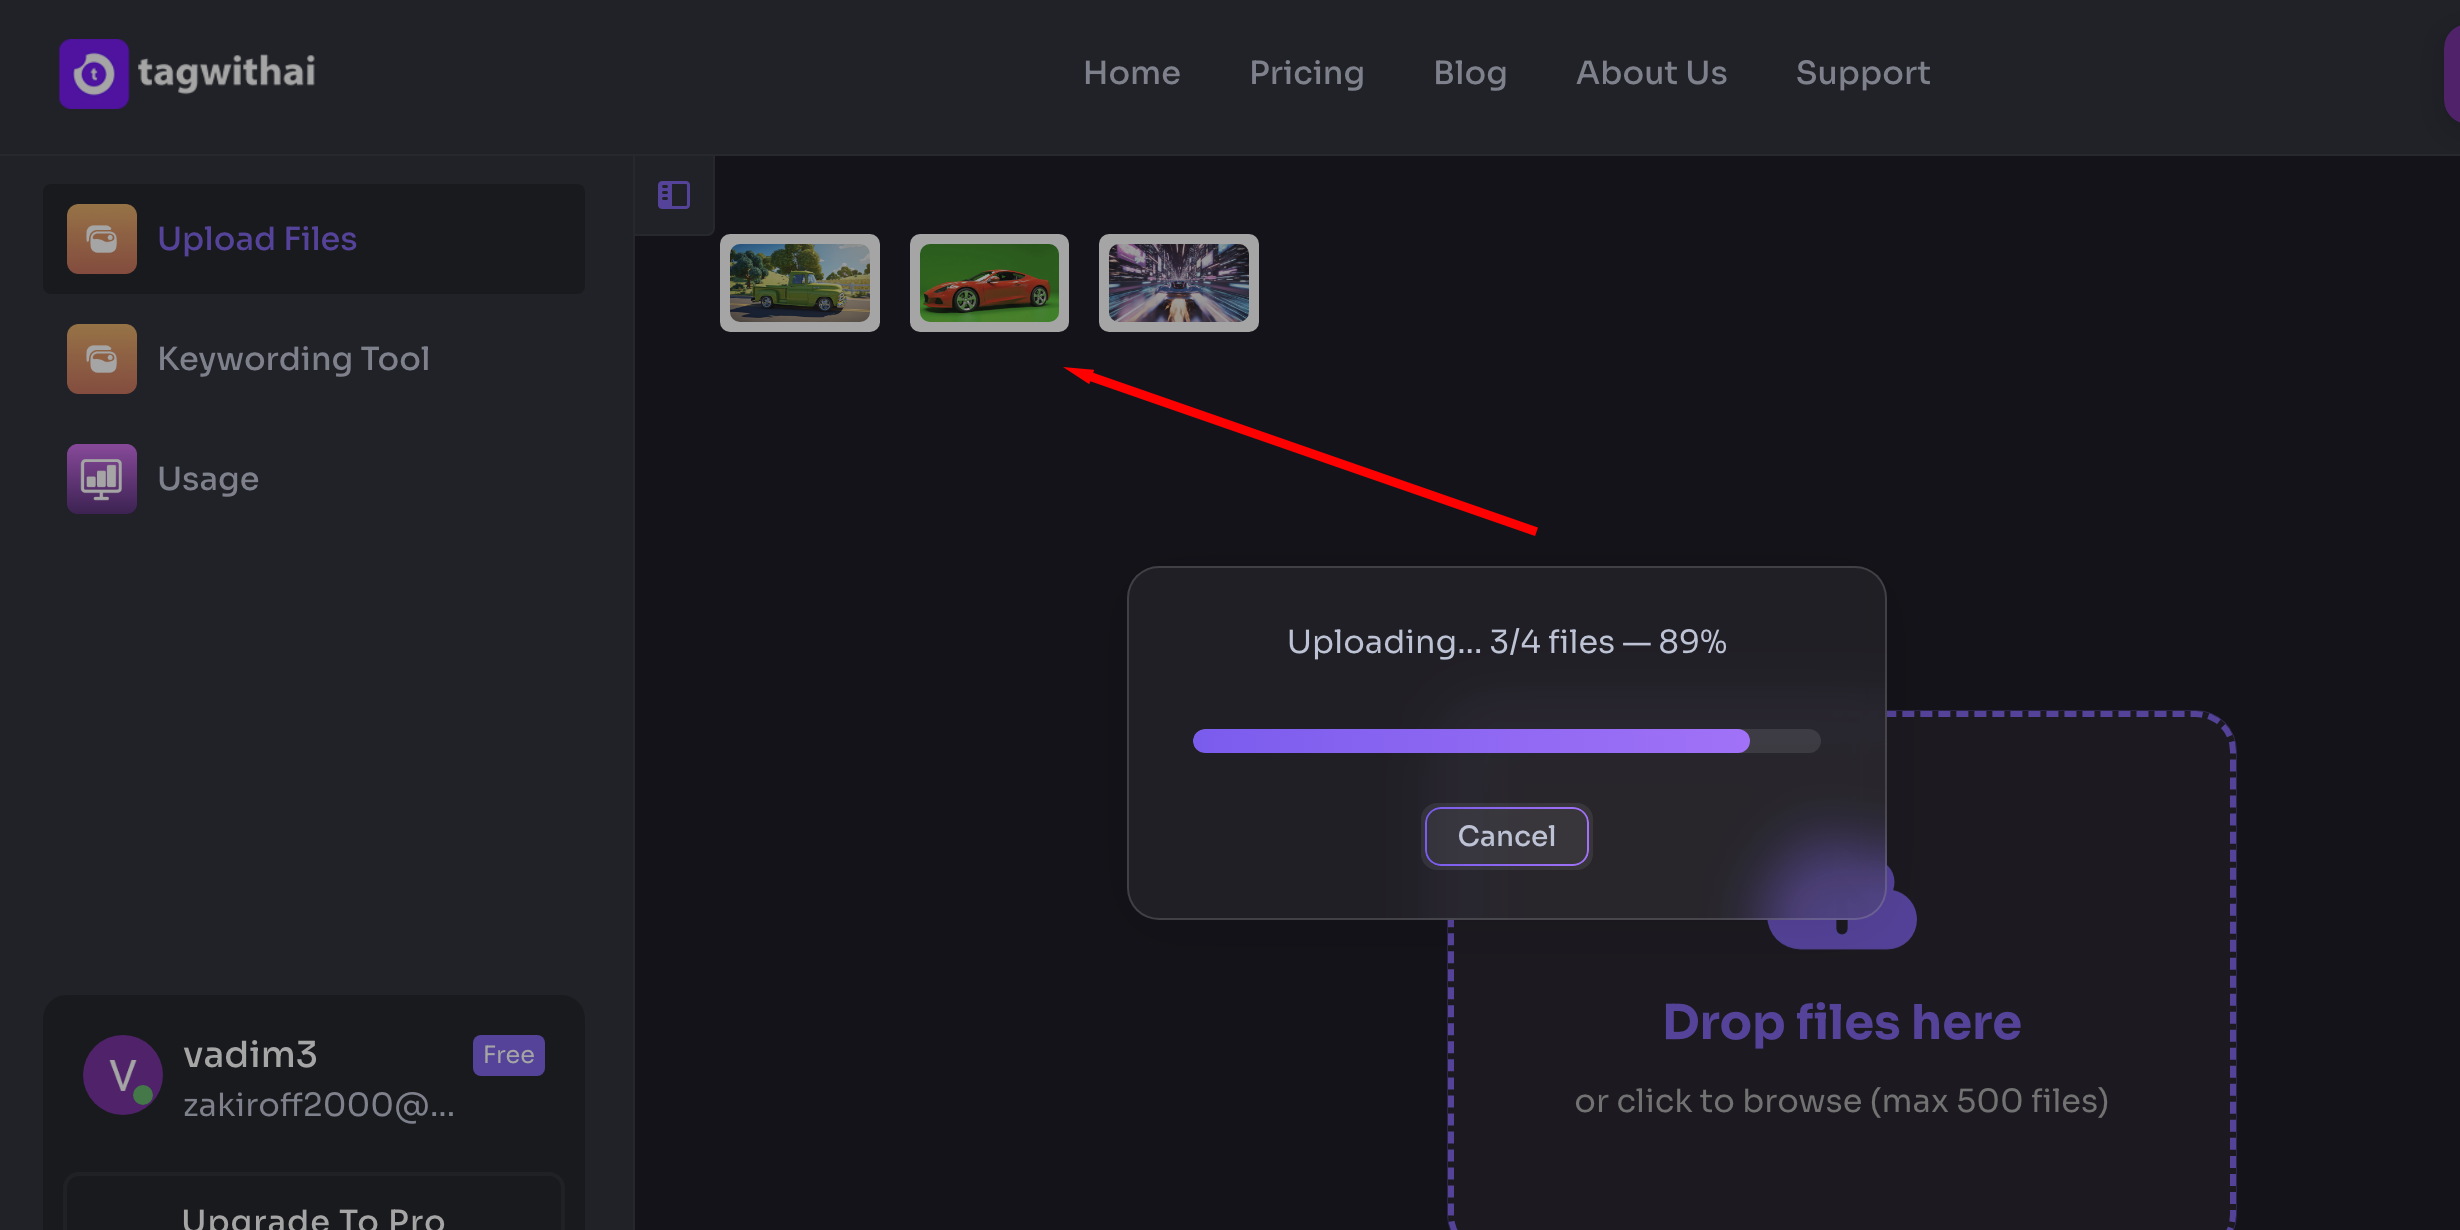
As files upload, you'll see a progress indicator along with previews of successfully uploaded files:
If any files fail to upload, you'll receive a notification listing the affected files. Common reasons for upload failure include:
- Unsupported file format or file size
- Storage limit reached for your current plan (plans start at 25 GB)
- Unstable internet connection
You can upload up to 500 files at once. However, to avoid interruptions, we recommend batching uploads into groups of 100–200 files, especially when working with videos larger than 500 MB.
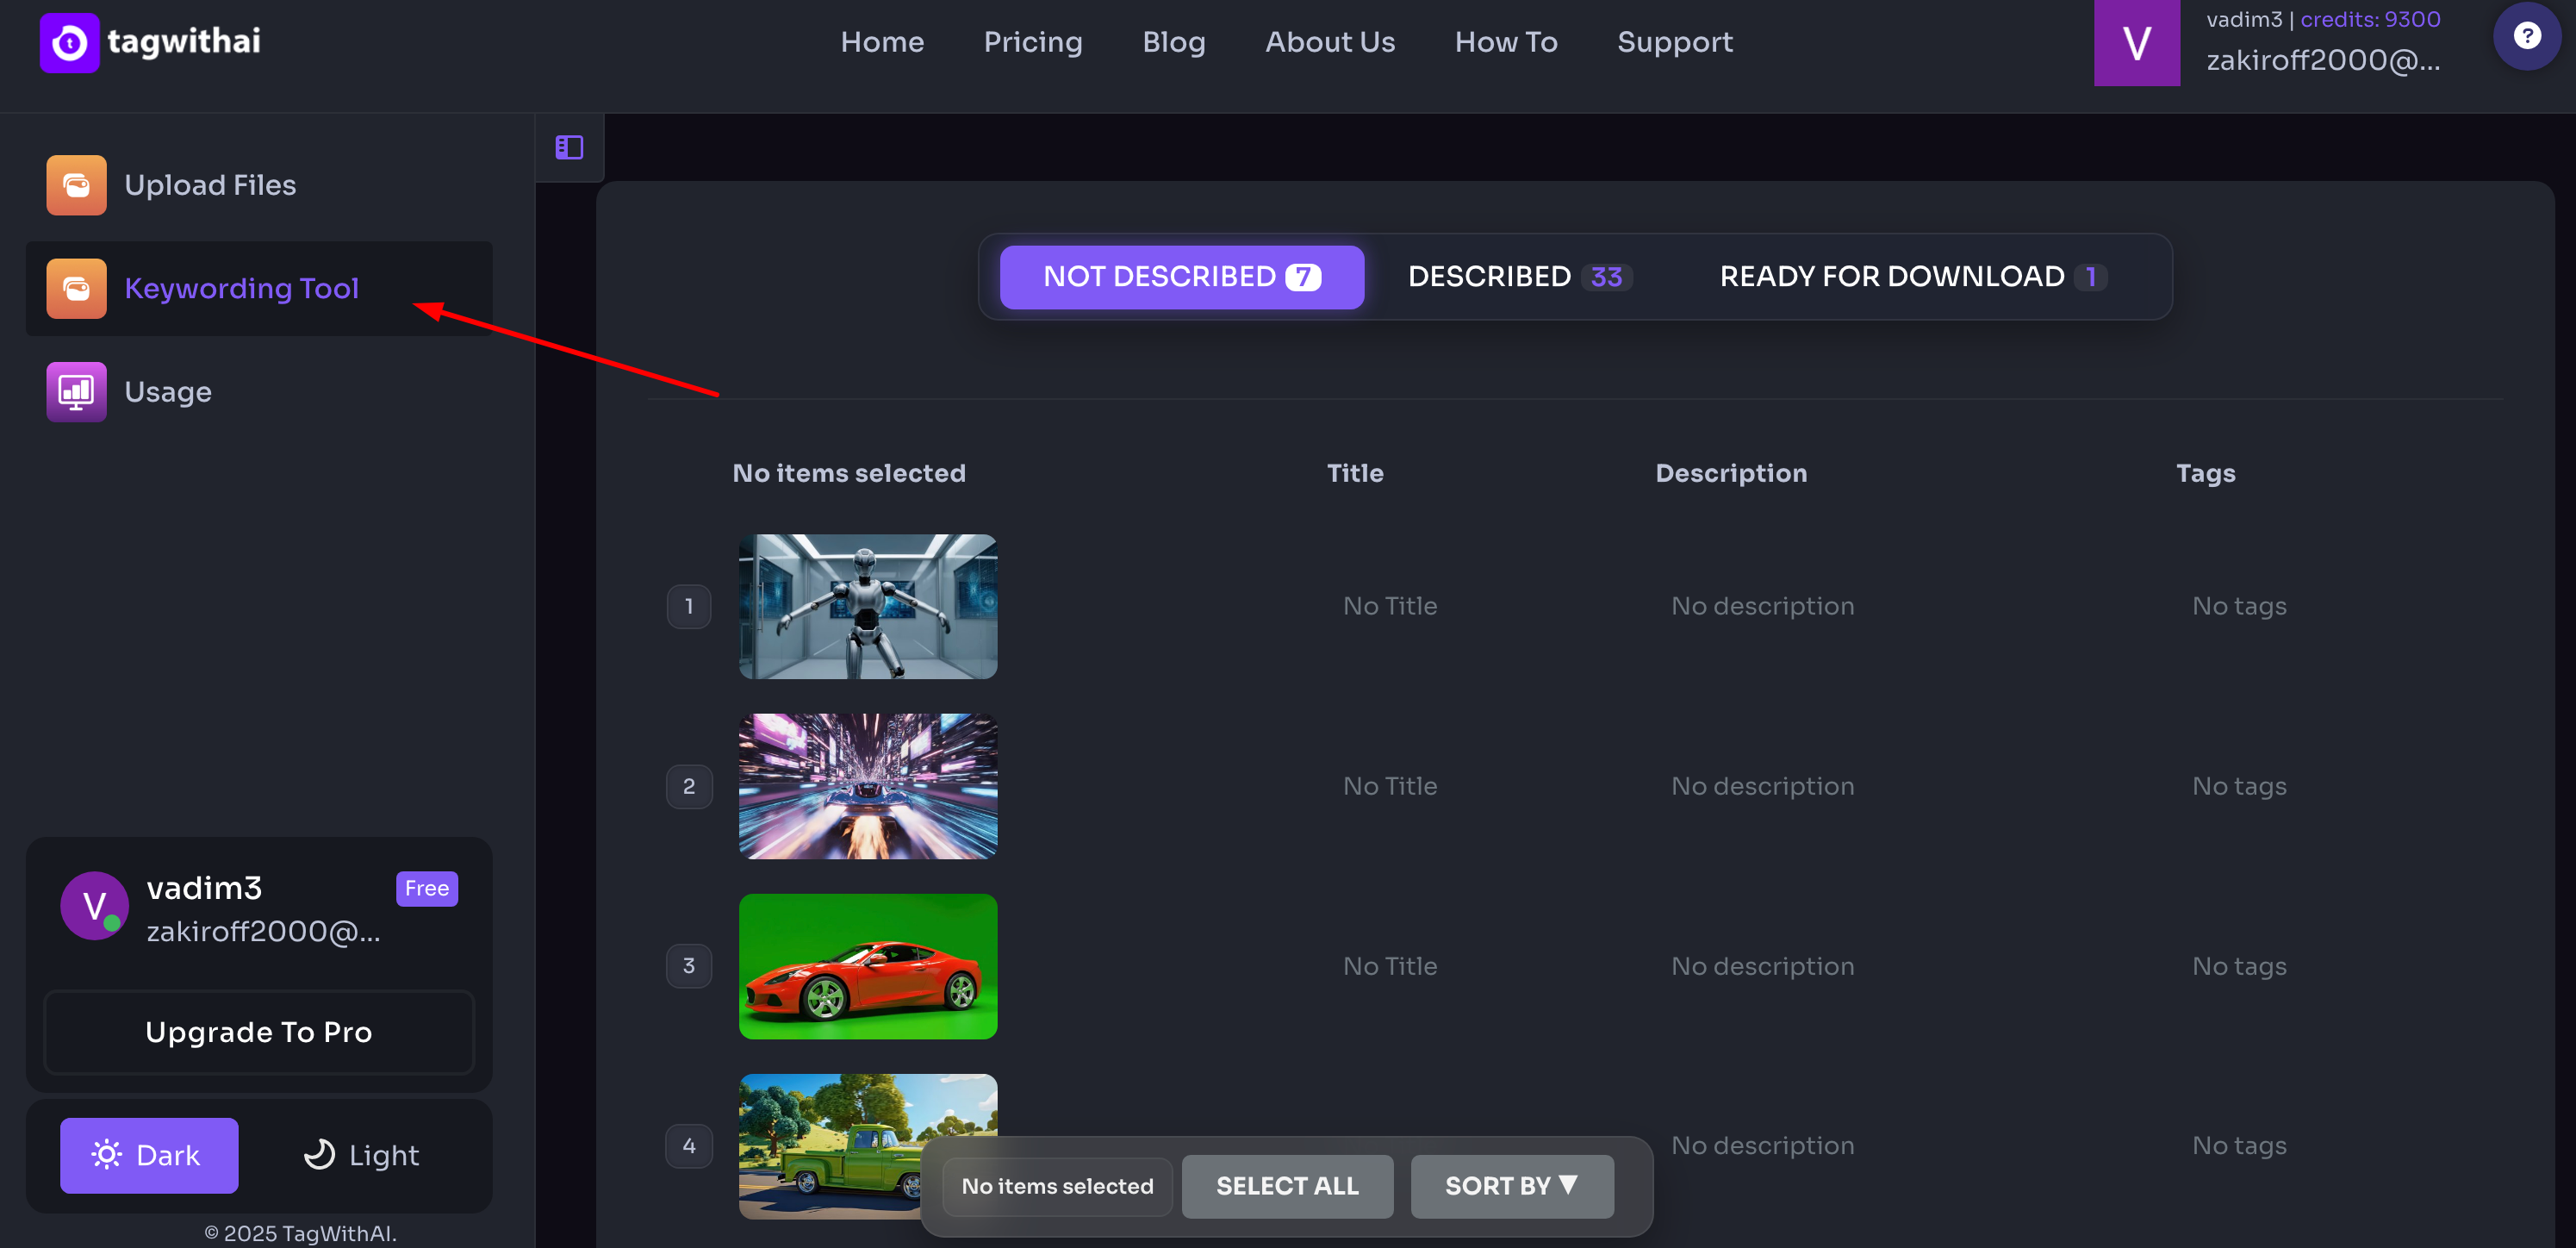
Once your upload is complete, you'll be automatically redirected to the Keywording Tool tab:
Selecting and Describing Files
If you've uploaded more than 100 files, they'll be paginated at 100 files per page.
To generate metadata, you'll first need to select the files you want to describe. There are three ways to select files:
- Click individual files to select them one by one
- Click the first file, then hold Shift and click the last file to select a range
- Click Select All in the bottom toolbar to select all files on the current page
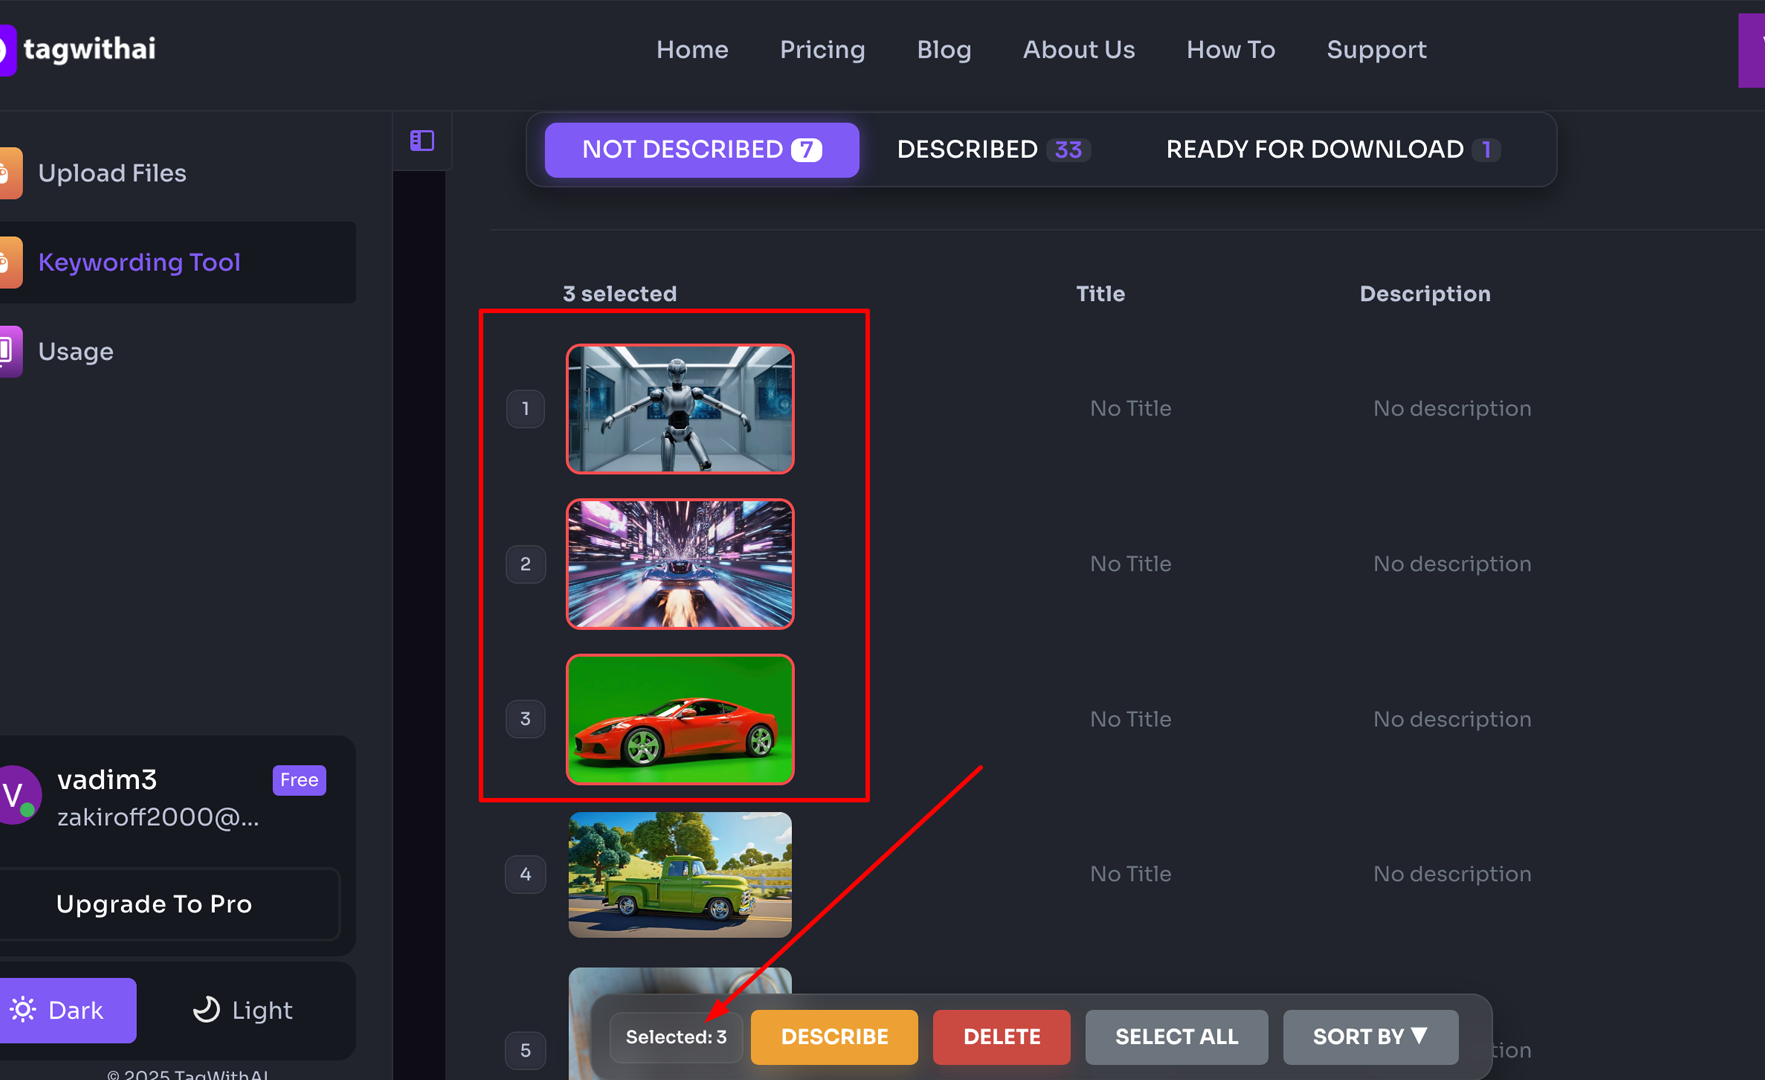
Selected files are highlighted with a thin red border. The bottom toolbar shows the number of selected files:
Note that you cannot select more than 100 files at a time.
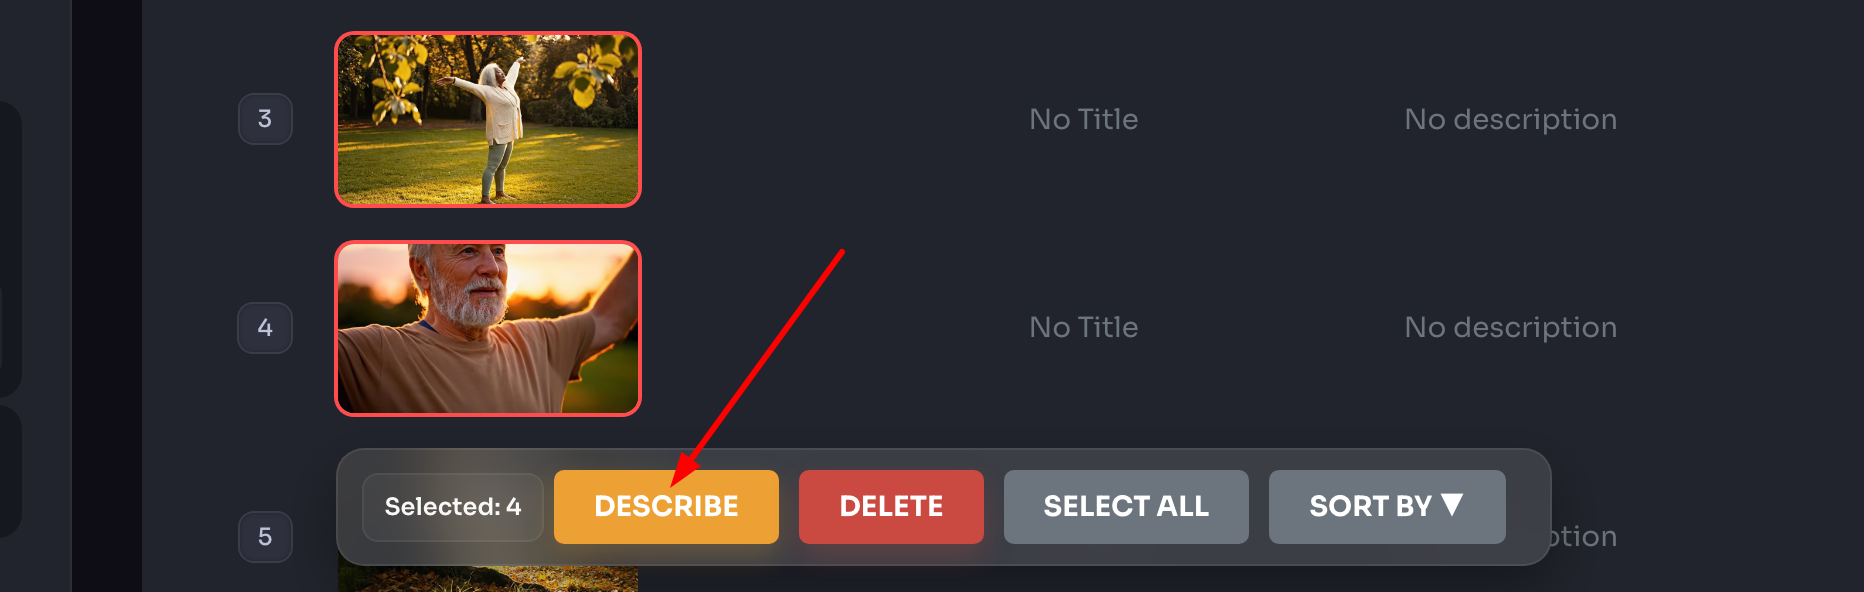
Once at least one file is selected, two additional buttons will appear in the bottom toolbar: Describe and Delete. Click Describe to proceed:
A settings panel will open:
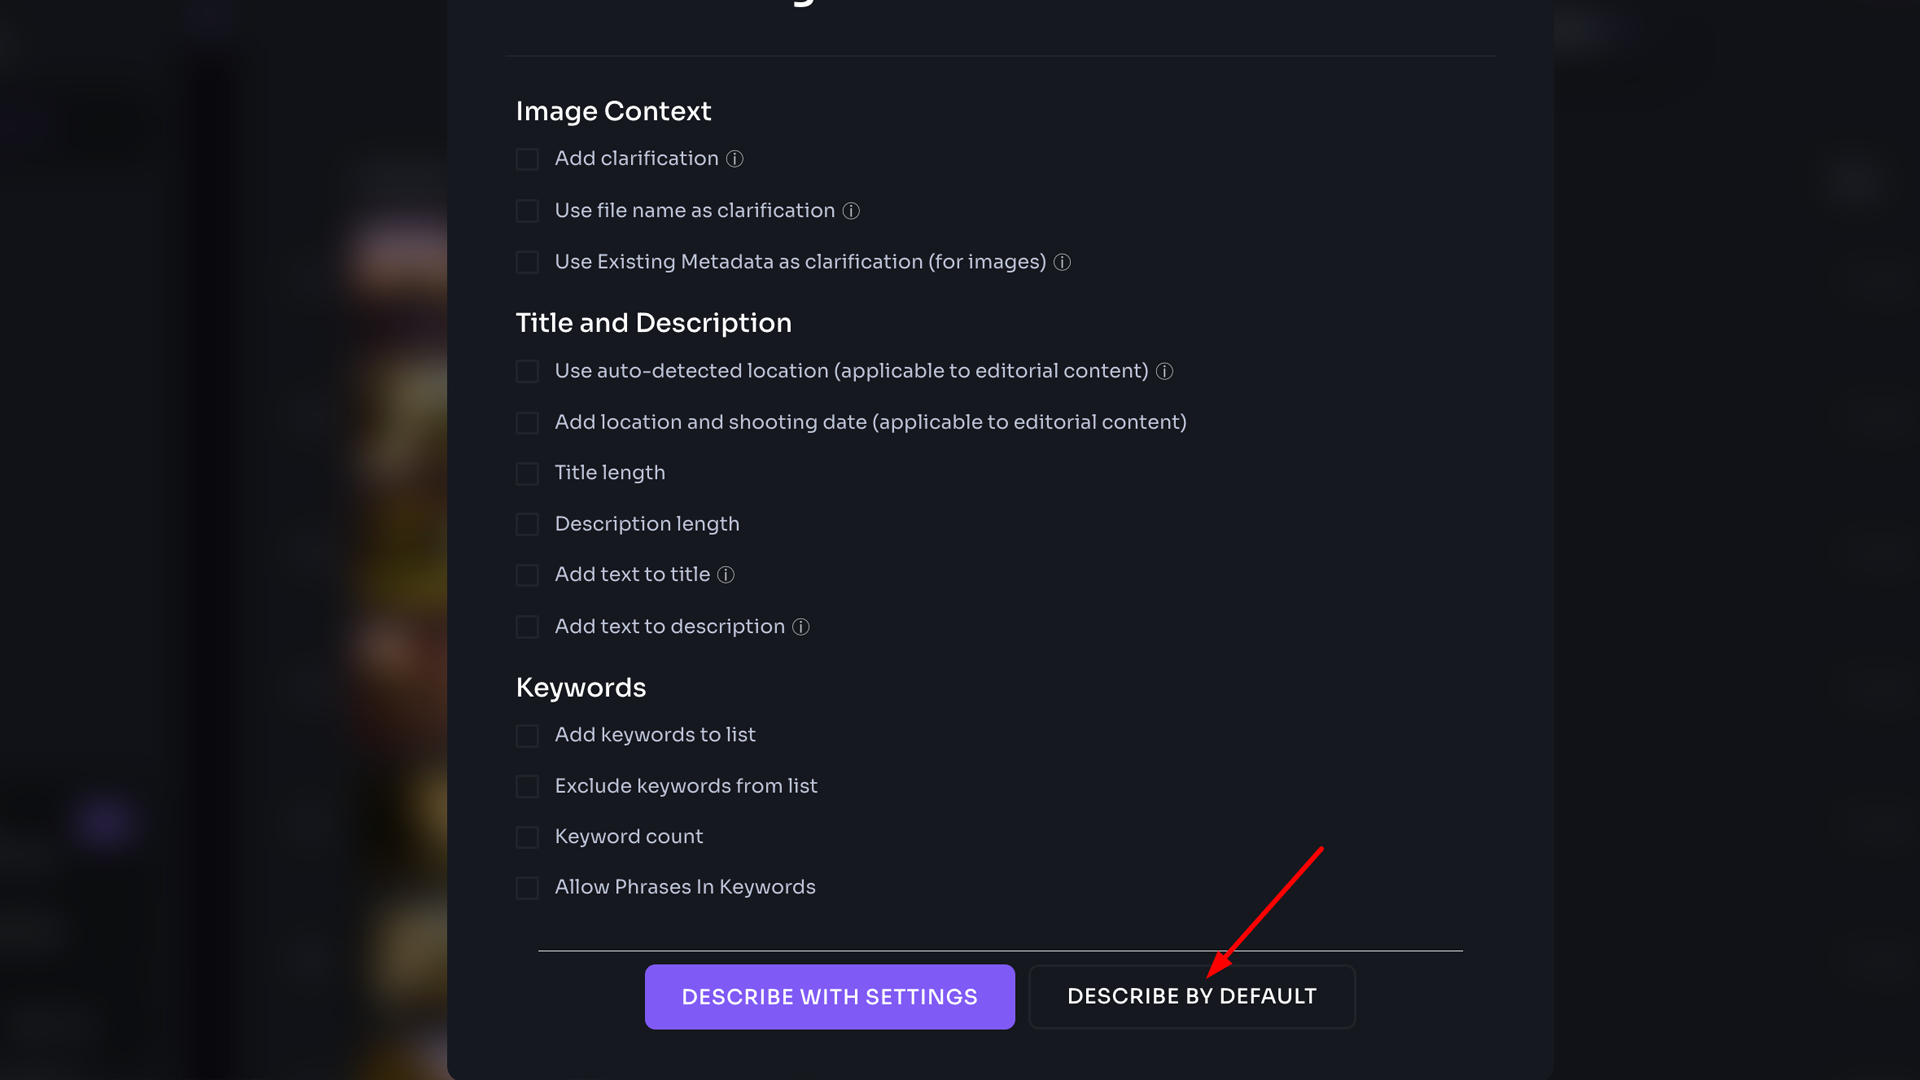
Since this article covers only the default description workflow, we won't go into the full range of available settings. The process of describing files with custom settings will be covered in detail in a separate article.
To describe your files using the platform's default settings, click Describe by Default. The process will begin immediately.
Default mode generates metadata with the following parameters:
- Keywords: approximately 50 words
- Title: approximately 180 characters
- Description: approximately 150 characters
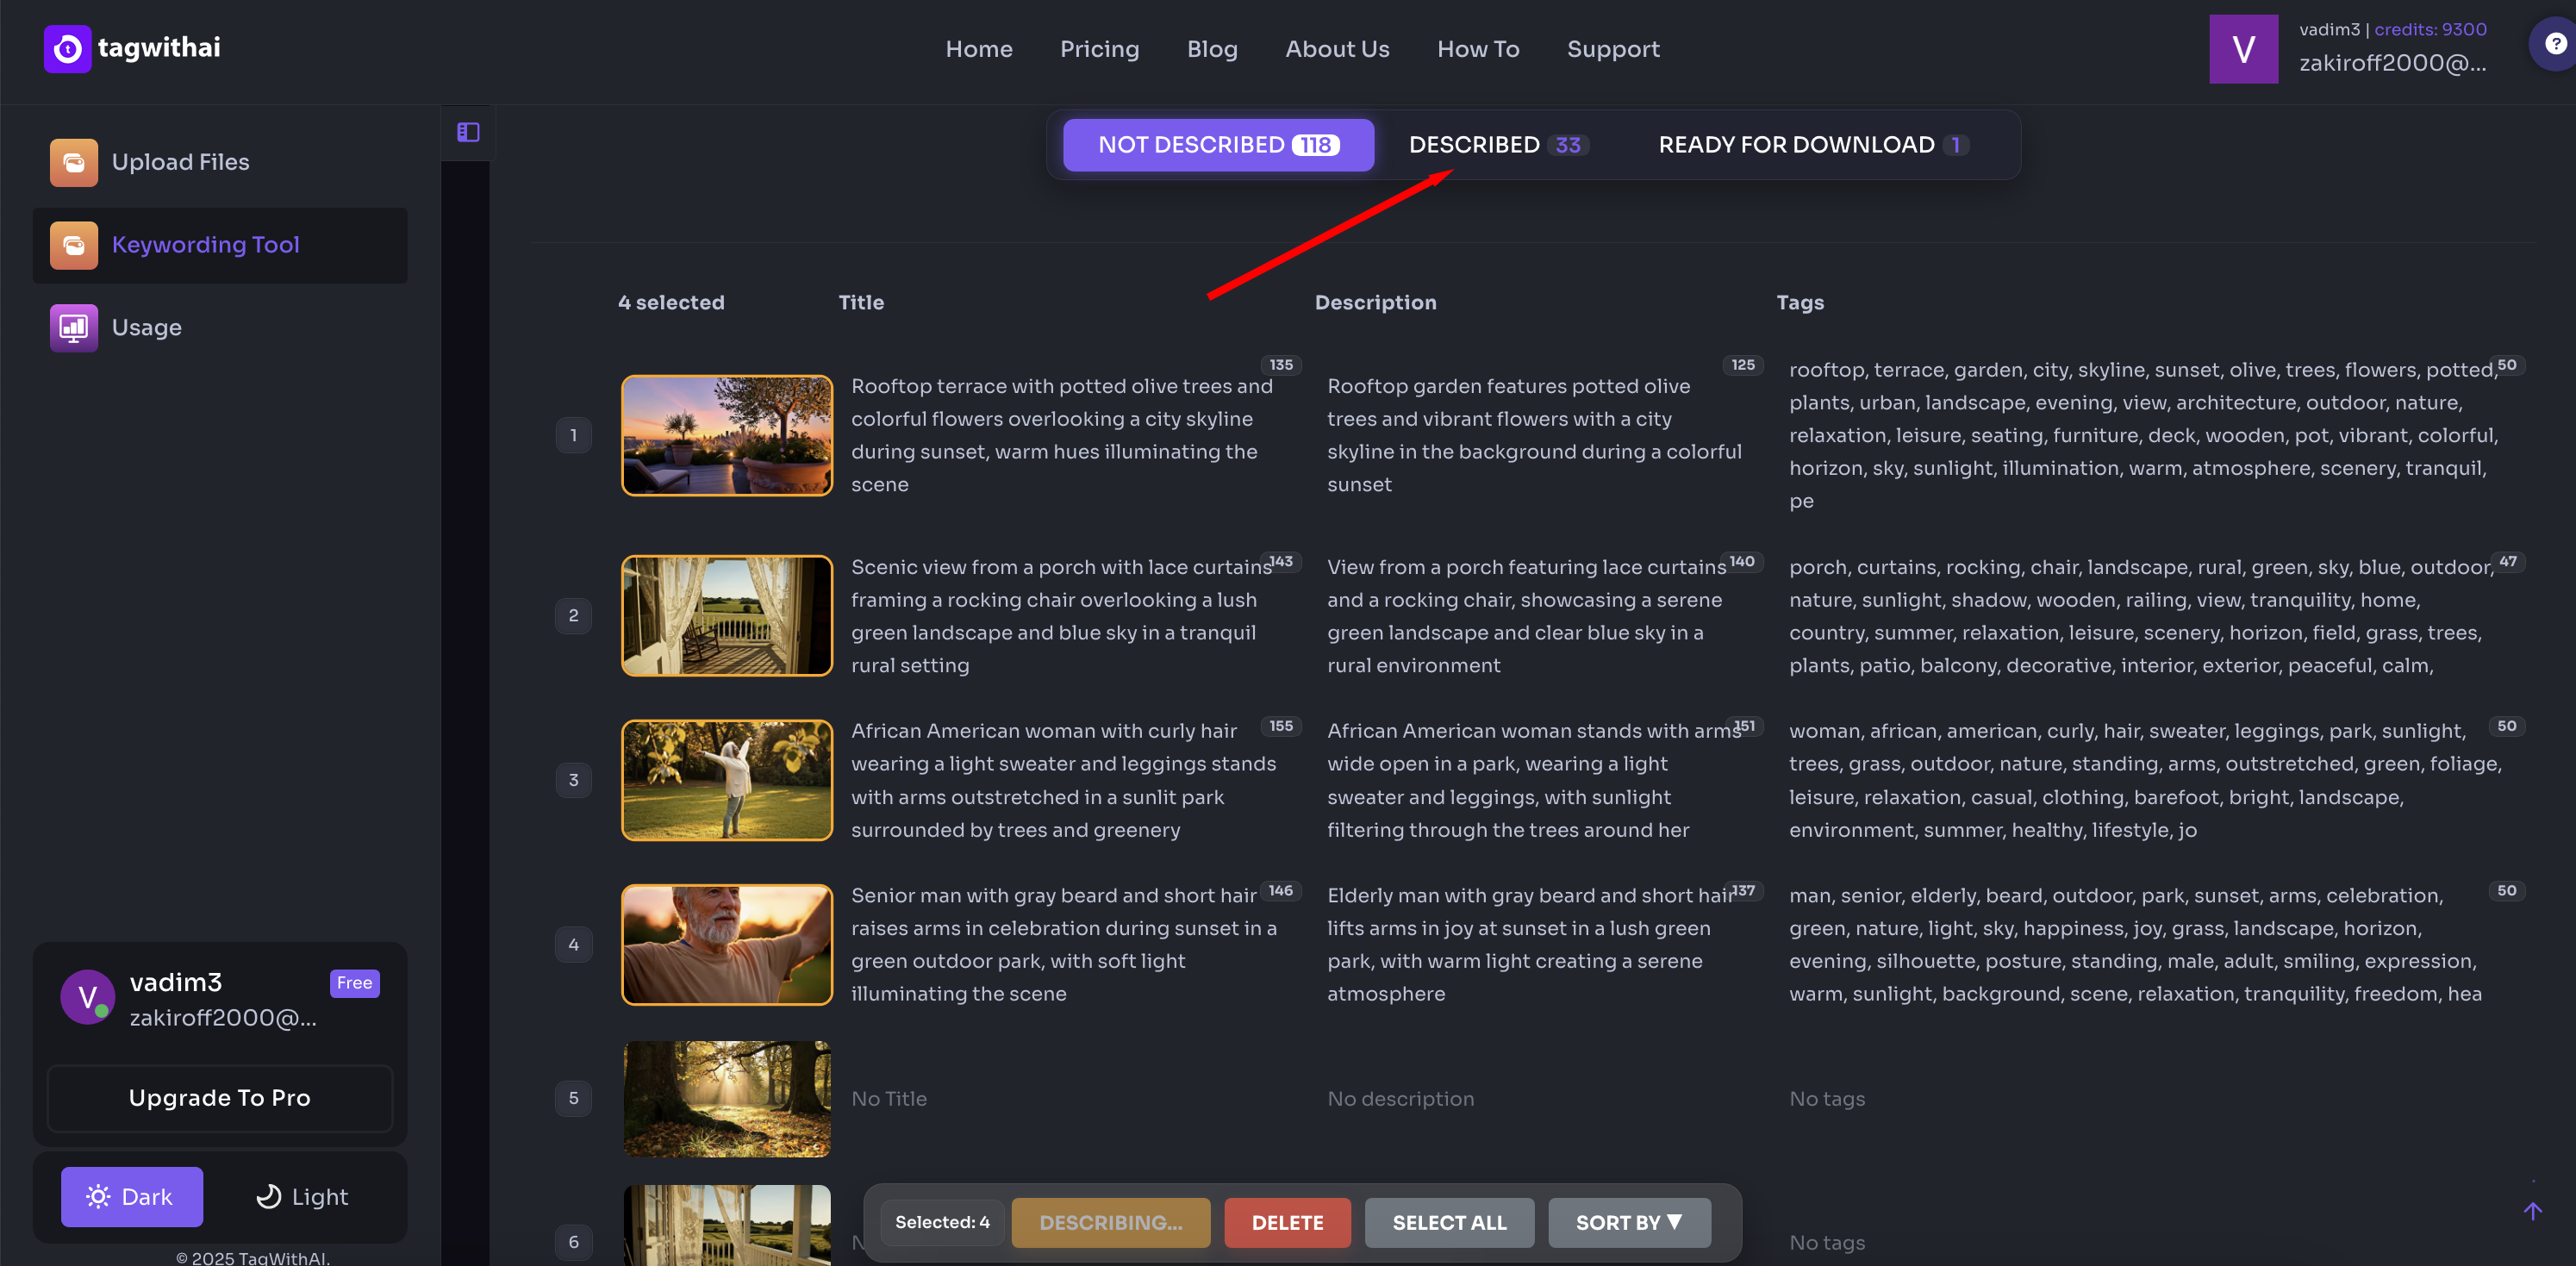
As files are processed, they'll move automatically from the Not Described tab to the Described tab:
Editing Metadata
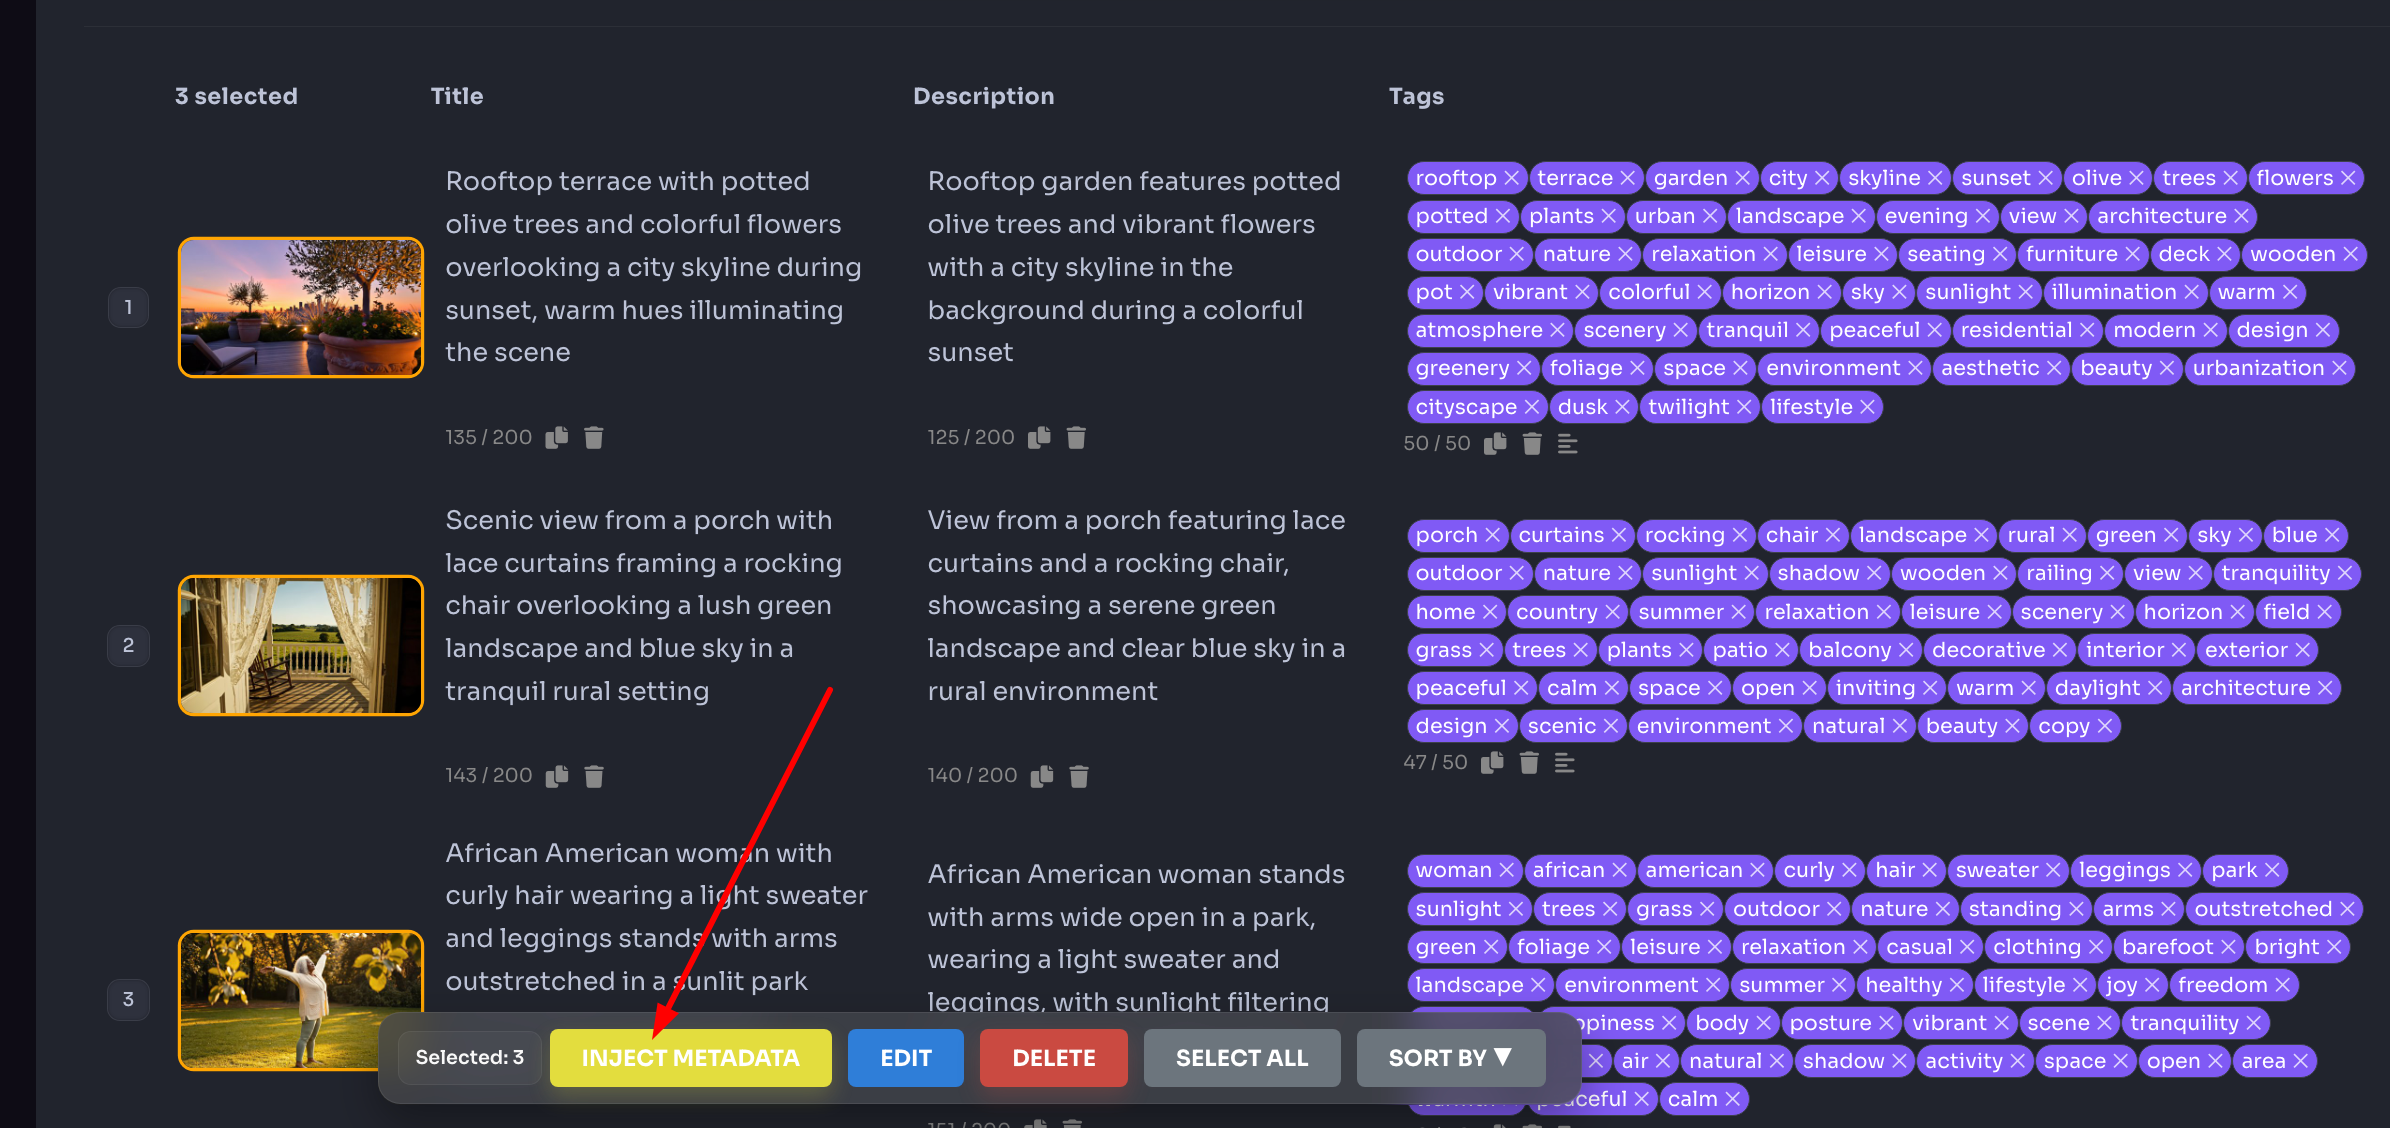
Before proceeding to download, you have the opportunity to review and adjust your metadata. You can add or remove individual keywords, or use the blue Edit button in the bottom toolbar to make bulk changes across multiple files at once.
Important: Once you click Inject Metadata, your file metadata is locked and can no longer be edited. Make all adjustments before this step.
Injecting and Downloading Files
To embed metadata into your files, select one or more files and click Inject Metadata in the bottom toolbar:
Once the injection process is complete, your files will move automatically to the Ready to Download tab:

From this tab, you can:
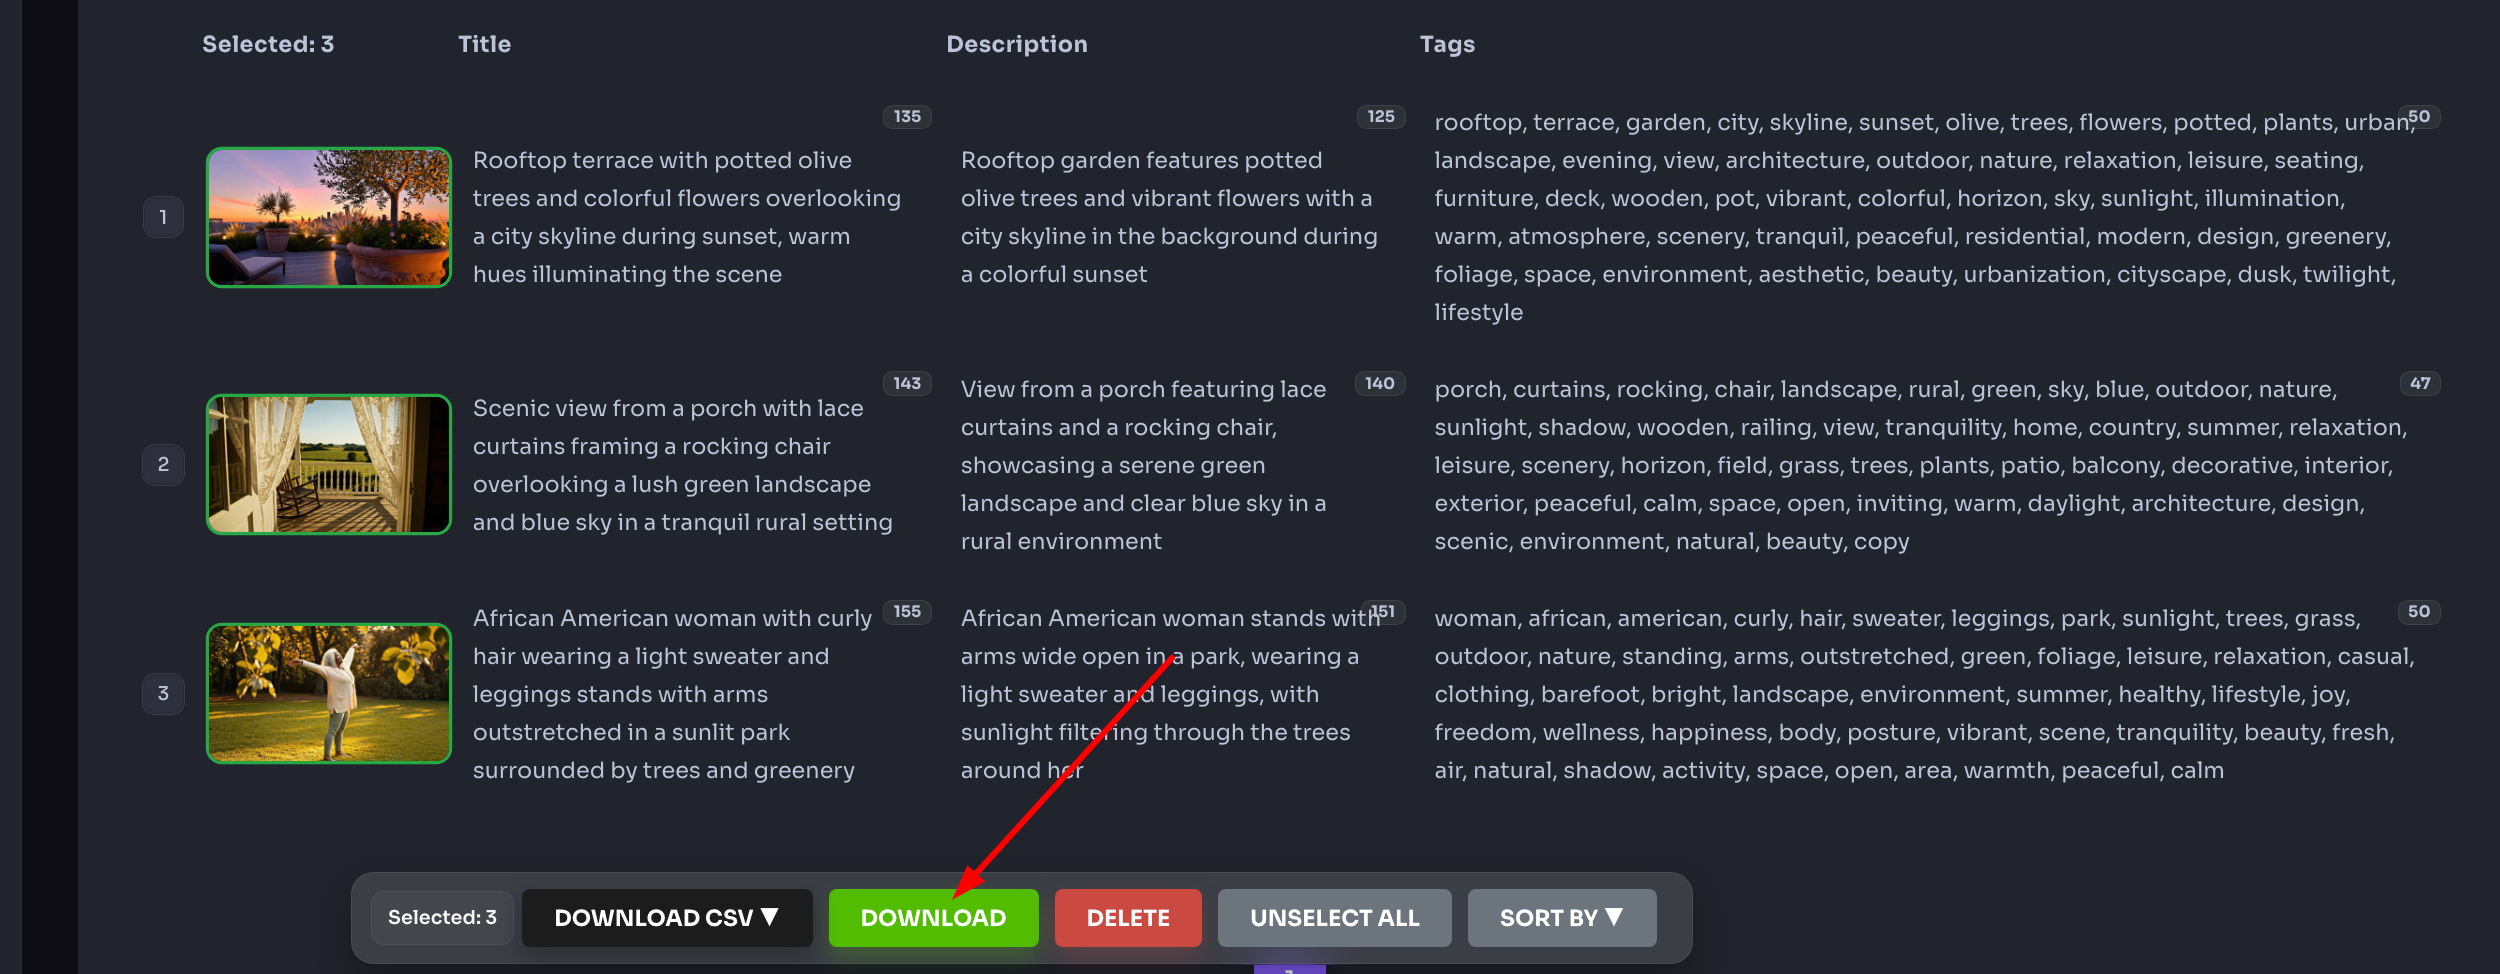
- Option 1: Download files with embedded metadata (images only). To download images with embedded metadata, select one or more files using any of the selection methods described above. Then click Download in the bottom toolbar. After a few seconds, once the files have been packaged into a ZIP archive on our server, the download will begin. Depending on the number and size of your files, this may take anywhere from a few seconds to a few minutes.
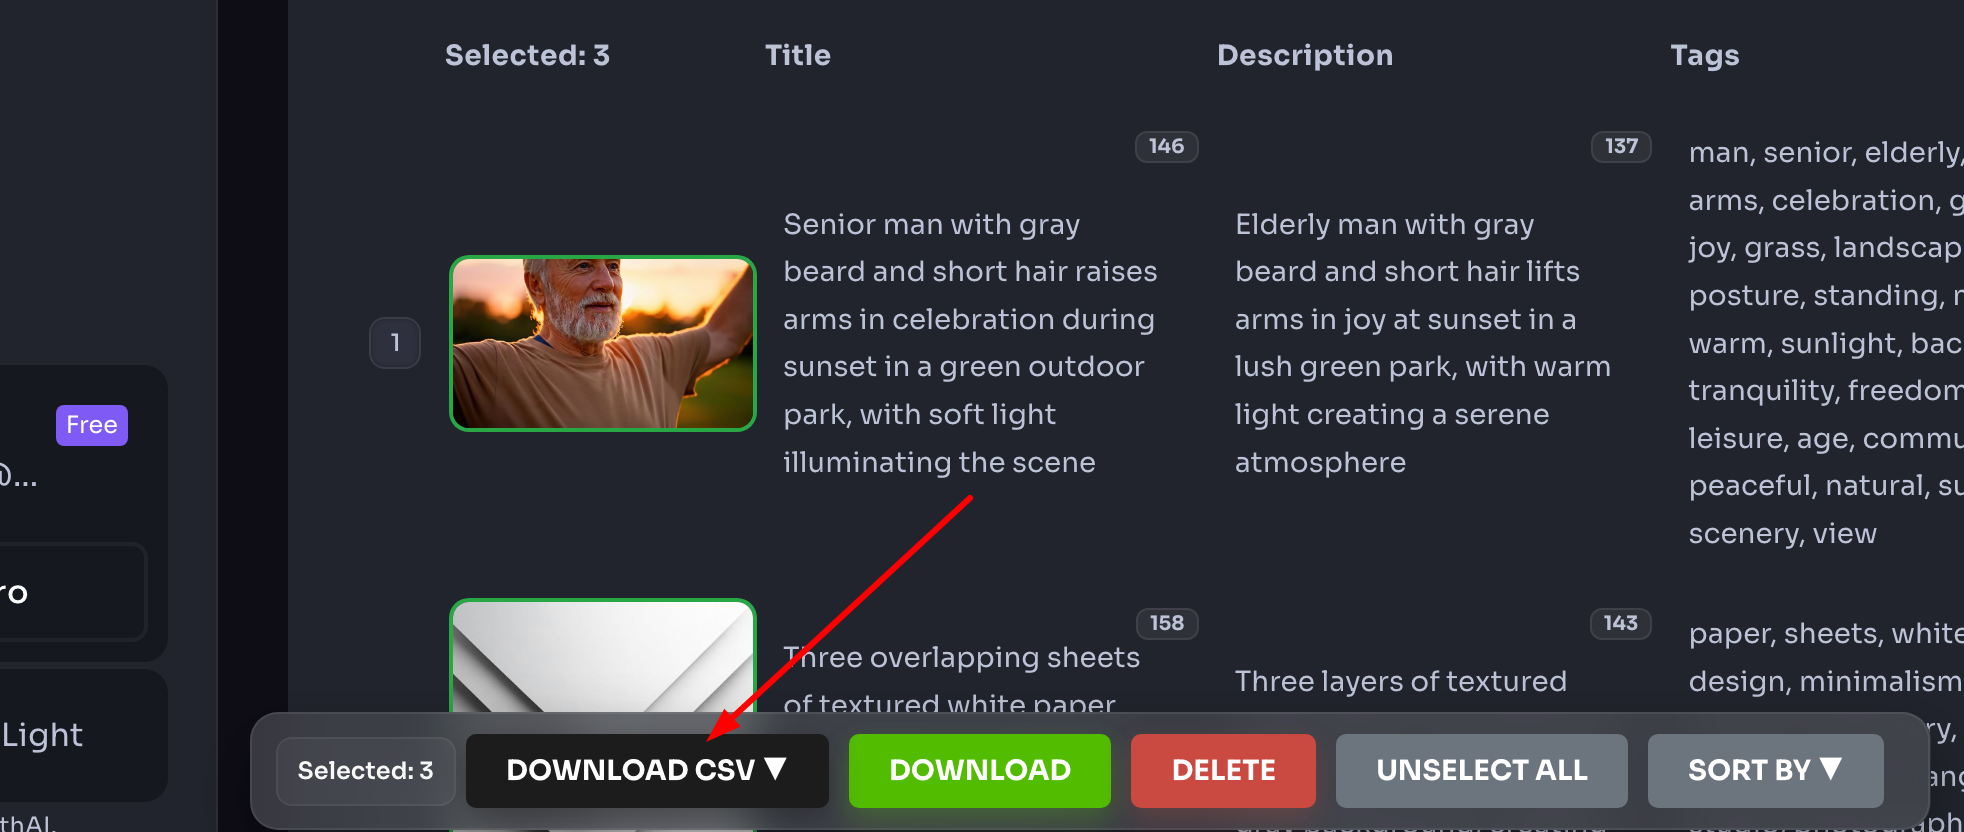
- Option 2: Download a CSV file with metadata — available for both images and video:
After downloading, files are automatically removed from the system. Note that this does not apply to video files — see our dedicated video workflow articles for details.
Recovering Files After a Failed Download
If your internet connection dropped during a download and your files didn't arrive, don't worry — they're still stored on our server.
To re-download, go to your account menu and select Downloads:
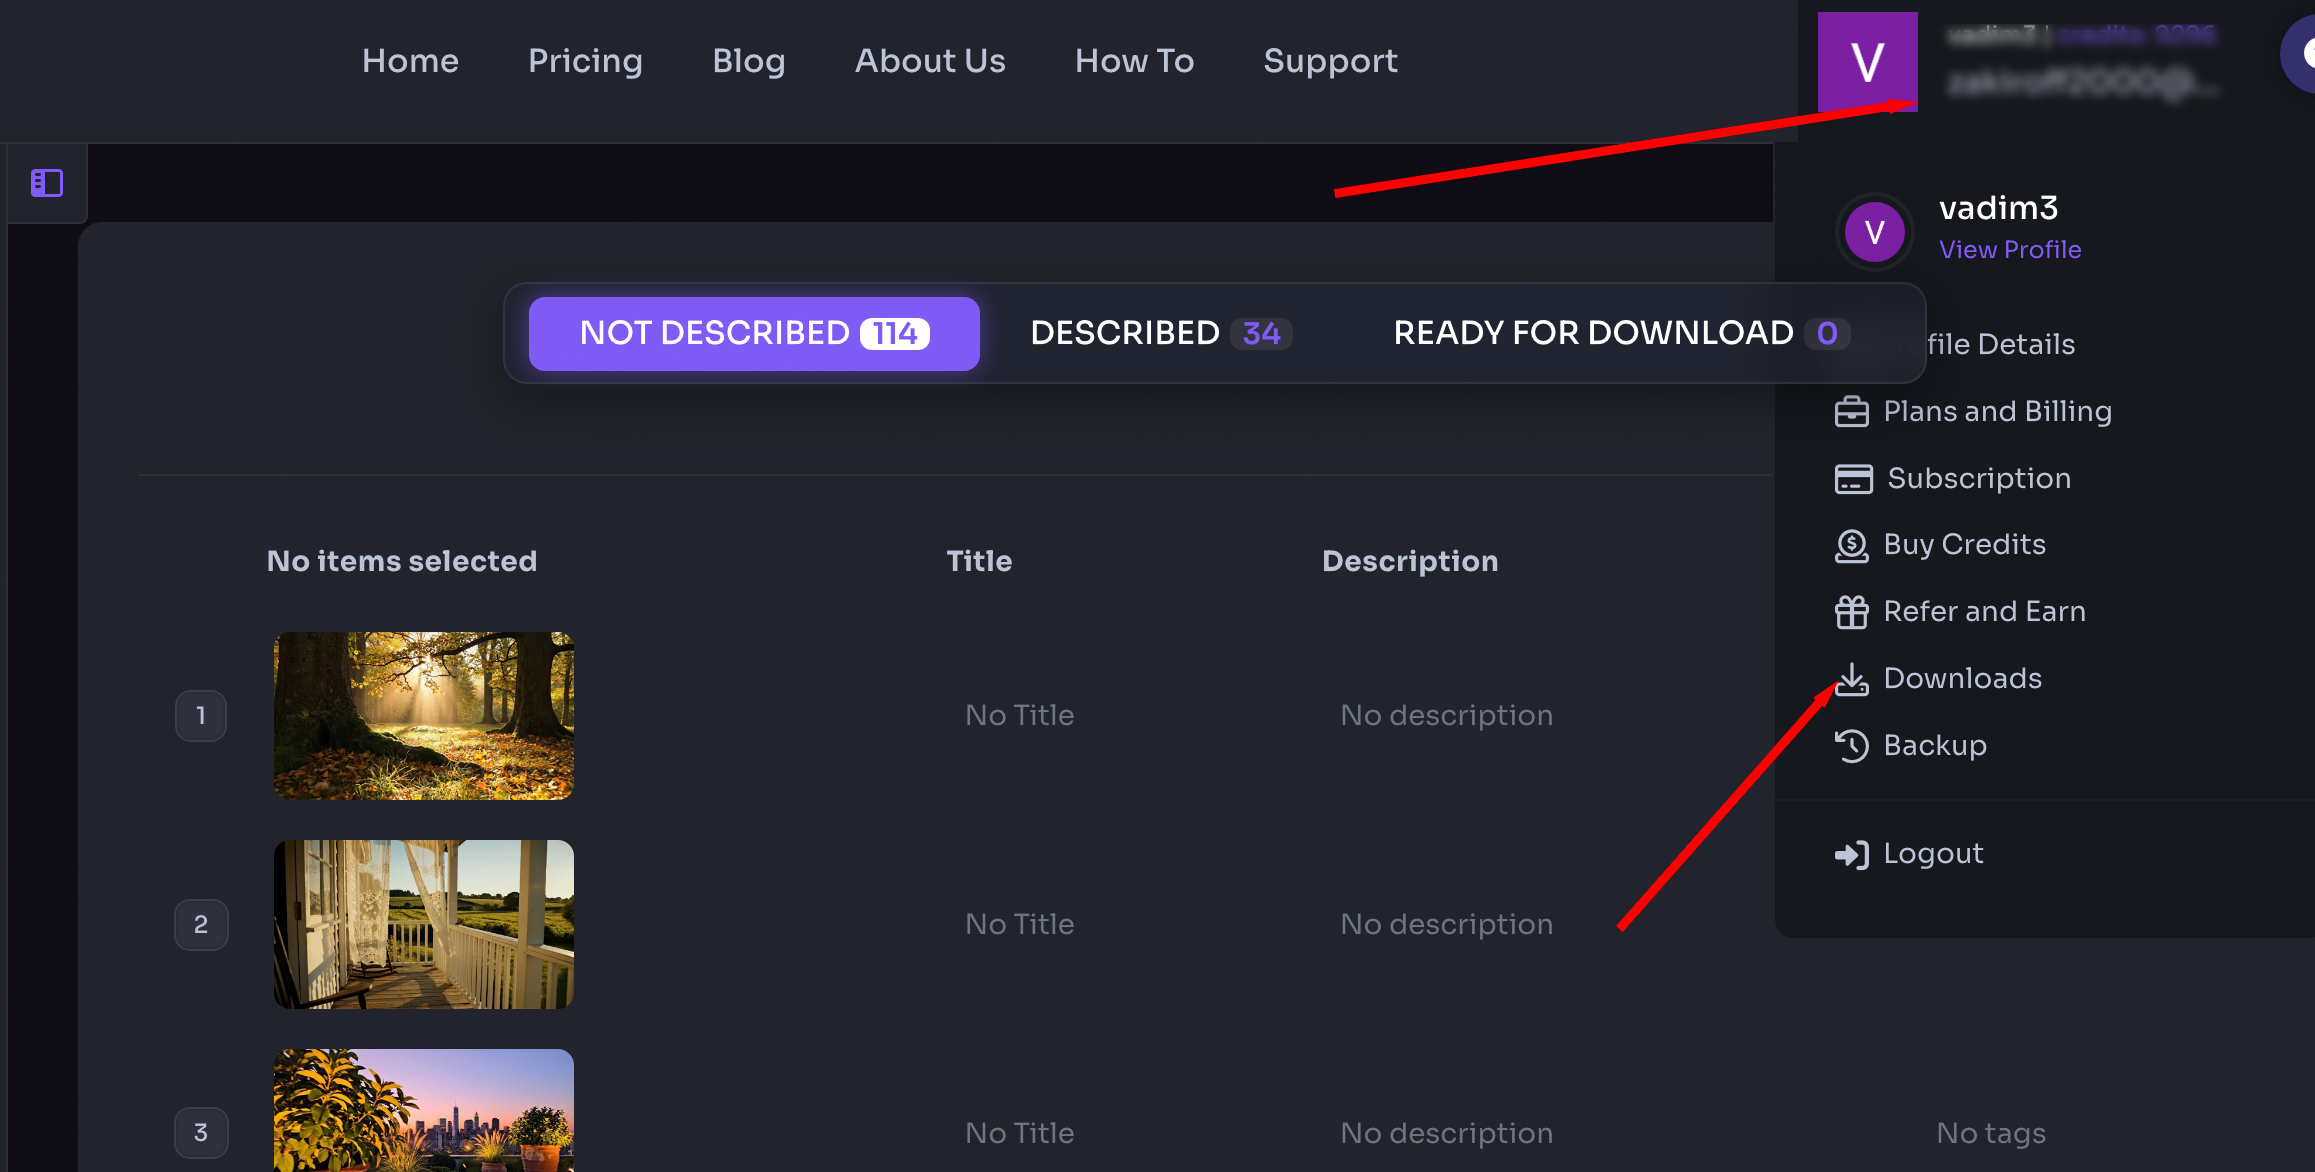
or visit: tagwithai.com/profile/downloads
All files you've downloaded or attempted to download are available here for 24 hours.
After 24 hours, you can still access your metadata in CSV format for up to 3 months from the date of creating metadata. To download your CSV backup, go to the Backup section:
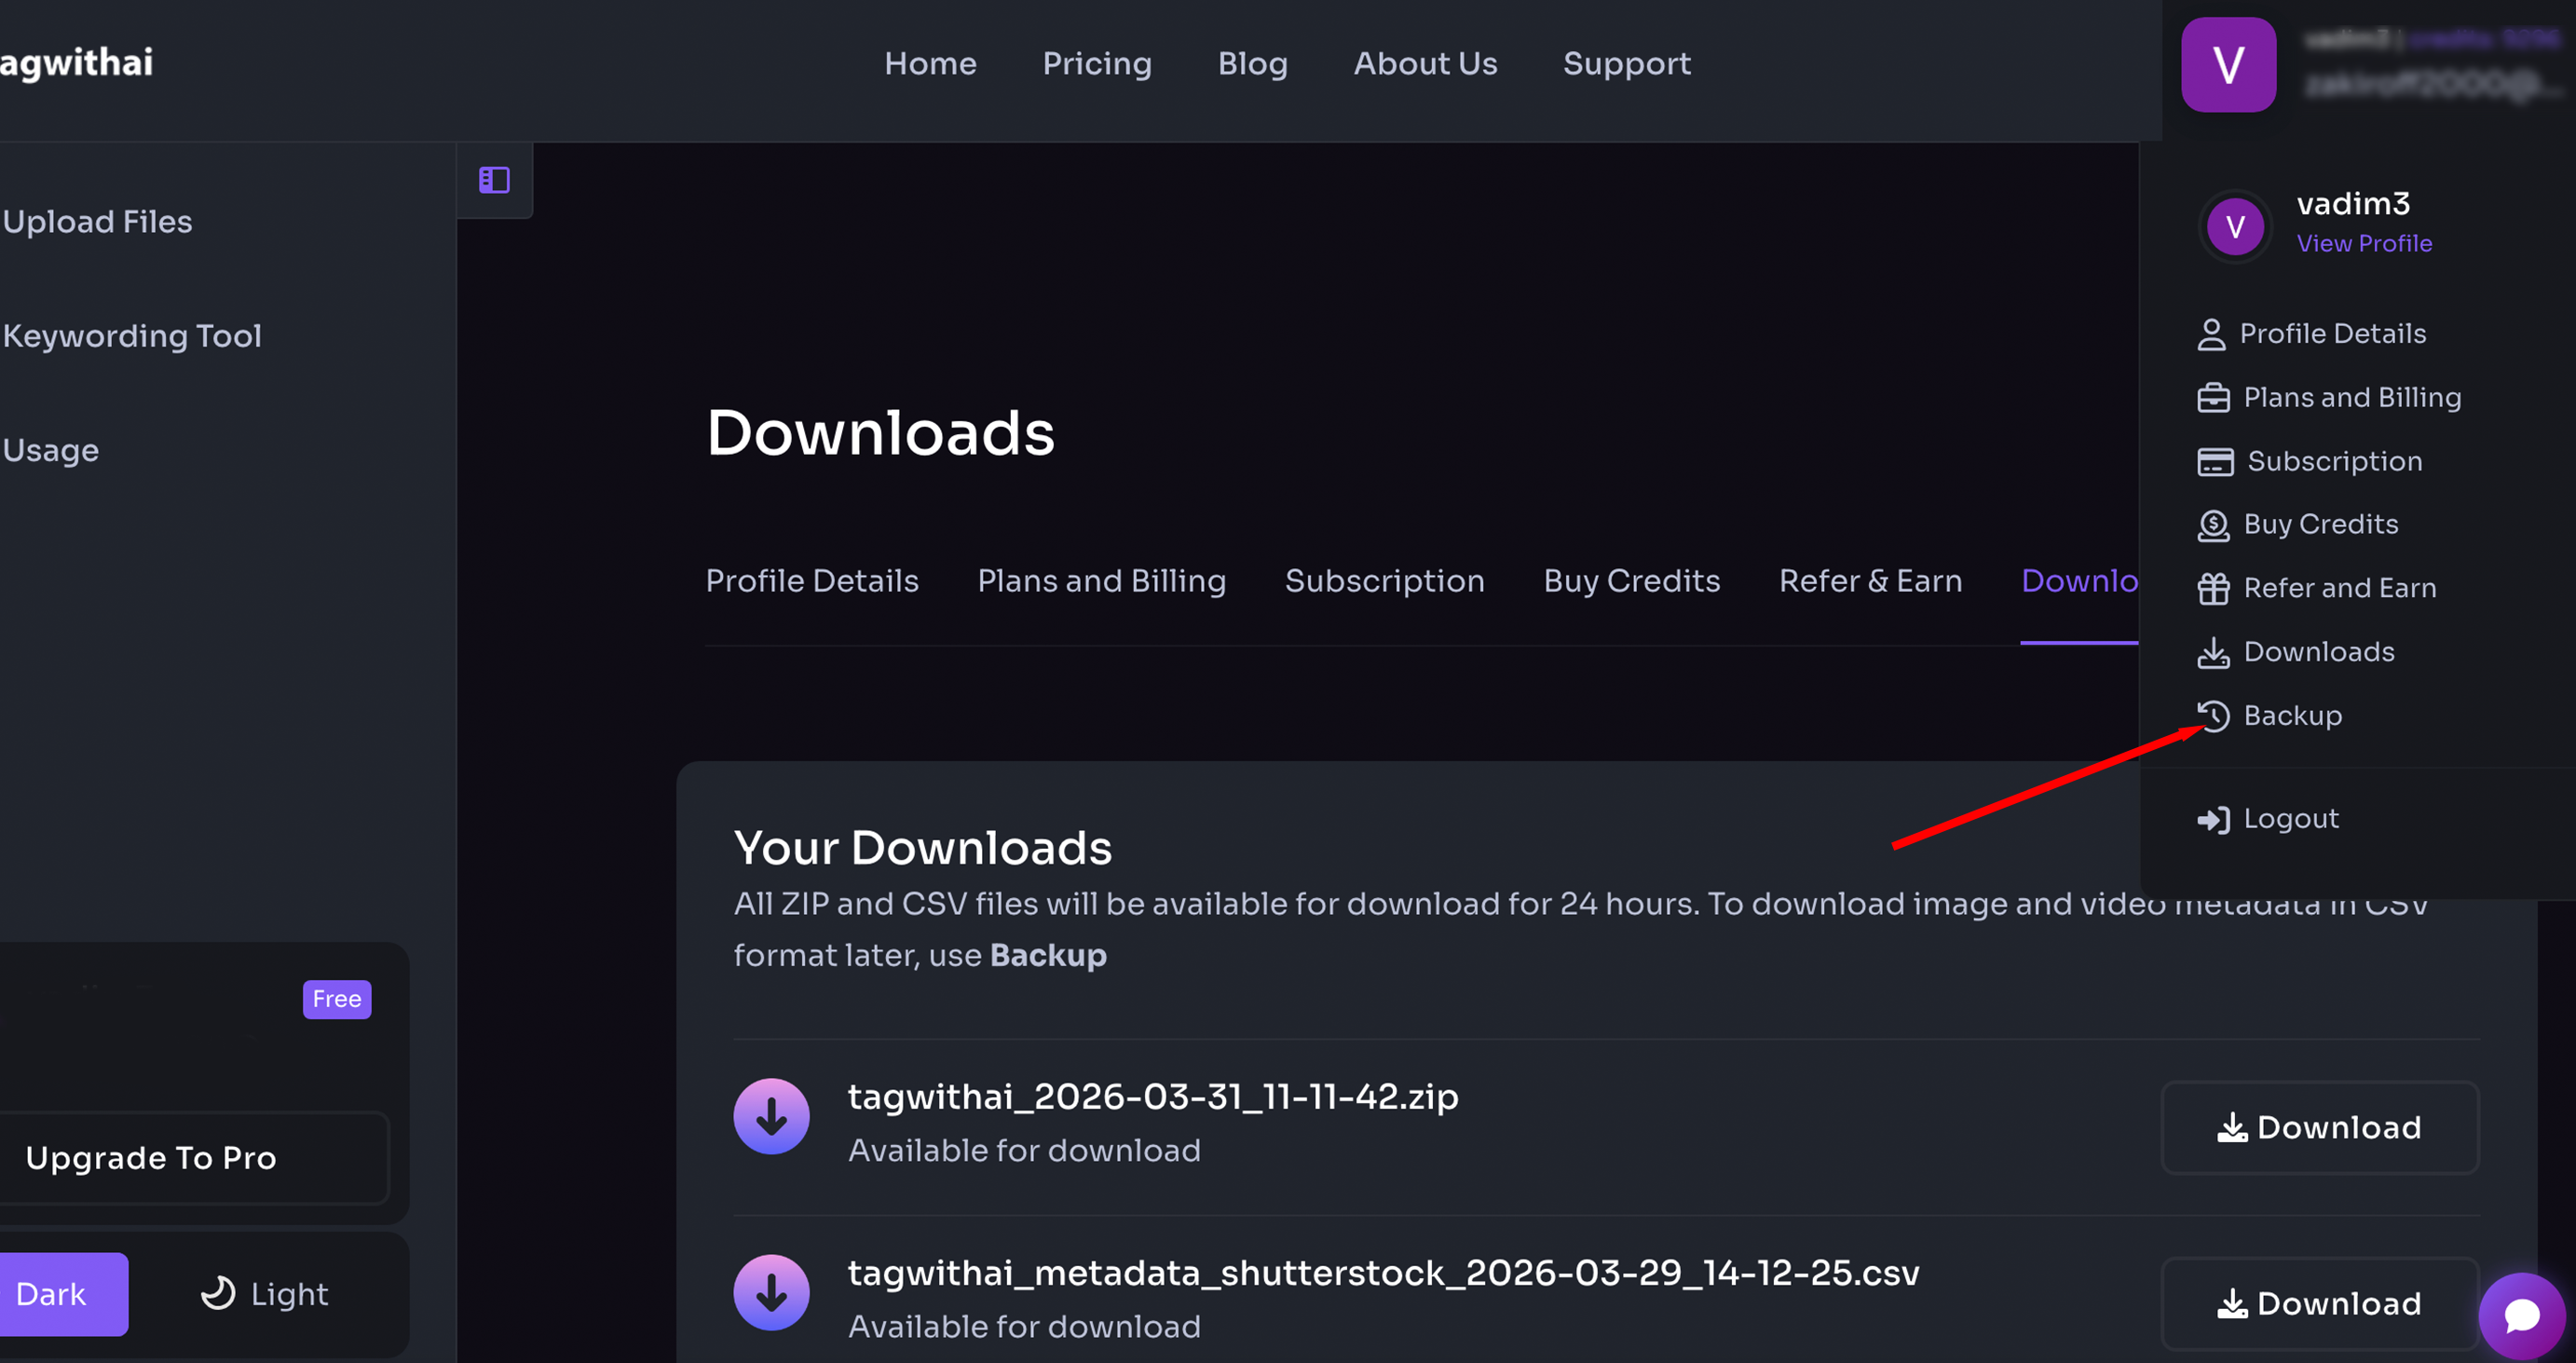
or visit: tagwithai.com/metadata-backup
For full details on working with CSV files, see our dedicated article on the topic.
Leave a Reply
Copyright © 2025 TagWithAi
No comments yet.